
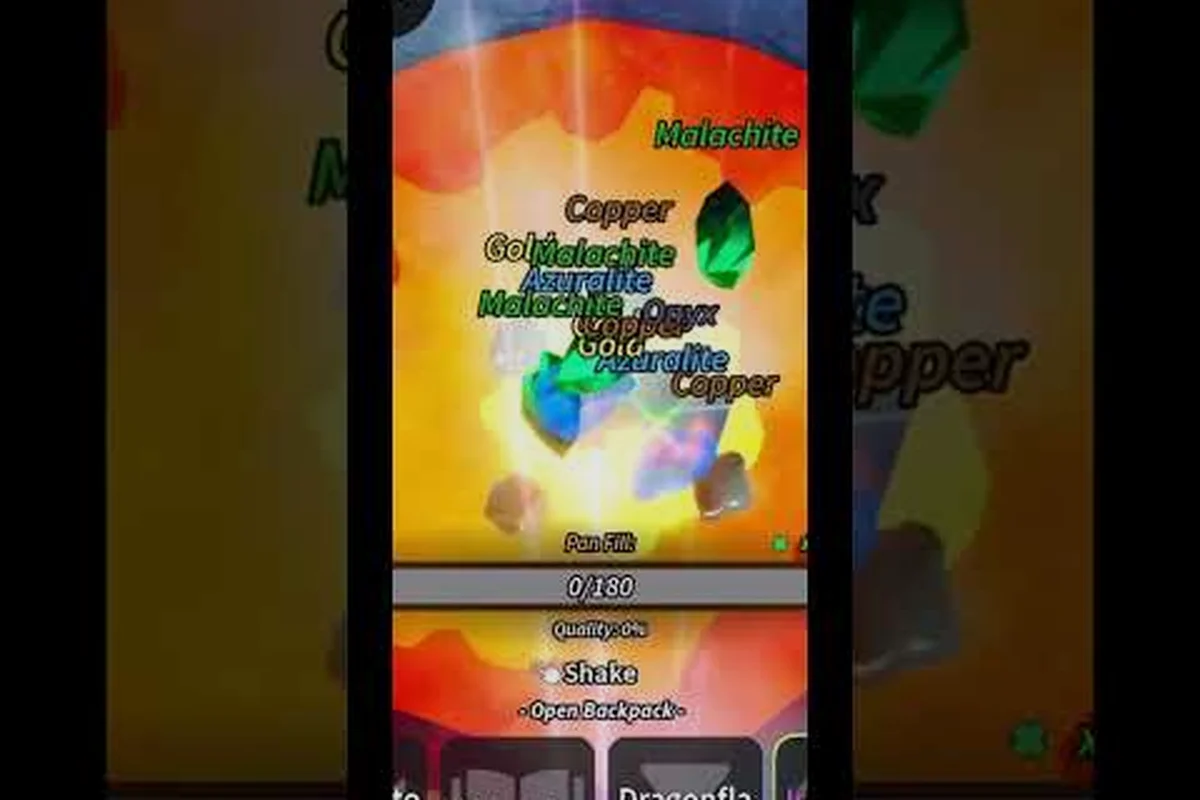
Prospecting geodes are the most reliable way to grab Crystalline modifier minerals and Meteor Shards, two resources that quietly accelerate every other part of your grind in the game. If you have been panning riverbeds and selling everything raw, you are leaving a serious chunk of value on the table. Opening geodes is simple, but knowing which event triggers them and which mineral pulls actually boost your stats is what separates a casual player from a bankrolled one. This guide breaks down exactly how geodes work, where the game spawns them, and how to turn each one into a long-term payoff.
What Prospecting Geodes Are and How They Work
Geodes are special inventory items that drop from panning, mining, and certain event encounters. They look like rough grey rocks with a faint shimmer, and they do nothing in your backpack until you crack them. According to community wiki data, every geode contains either a randomized set of 2 to 5 minerals carrying the Crystalline modifier or a stack of Meteor Shards, the in-game currency used at the Traveling Merchant and for select Robux-purchasable upgrades.
The Crystalline Modifier Explained
The Crystalline modifier is a stat tag that stacks on top of a mineral's base value. A normal iron chunk sells for a few coins; a Crystalline-tagged iron chunk sells for several times that, and it also feeds into the Museum boost system at a much higher rate. Mineral weight still drives the museum buff tier, but the modifier itself is not affected by weight, which means even small Crystalline pulls add meaningful long-term value to your collection.
The practical takeaway: a single geode can be worth more than a full inventory of raw panned material. Because the roll is always 2-5 minerals or a Meteor Shard payout, the expected value per geode stays high across the entire tier of rocks you can find.
Why Geodes Matter for New Players
For someone in their first week, geodes are the fastest path to a usable Museum contribution because the Crystalline modifier effectively front-loads the museum's stat bonus system. You can find a breakdown of how museum buffs scale with mineral weight in the broader minerals economy, but the short version is that a single Crystalline quartz is more impactful than a backpack of un-tagged rubies.
Players who skip geodes early often hit a wall around the mid-tier pans, where raw sell value stops scaling and the only meaningful progression comes from modifier stacks. If you want to skip that wall, open every geode you find and bank the Crystalline pulls.
How to Open Prospecting Geodes
The opening process is intentionally short. There is no mini-game, no tool tier requirement, and no shop unlock. You equip the geode, you left-click, and the contents land in your inventory. According to the Prospecting community wiki, this is the entire flow.
Step-by-Step Opening Process
-
Equip the geode from your inventory slot. It binds to your active hand just like a pan or a shovel.
-
Left-click to crack it. The animation is short, around one to two seconds, and the result resolves instantly.
-
Collect the drops. You will either see 2-5 minerals tagged Crystalline flash into your bag, or a stack of Meteor Shards land in the currency tab.
-
Repeat. Geodes are single-use and do not stack, so each one needs its own click.
There is no failure state and no penalty for opening. You cannot lose the contents, and you cannot "ruin" a roll. This is one of the few systems in the game where the action cost is zero, which is why experienced players open geodes on the spot rather than banking them.
Geode Opening Traps and Wasted Hammers
The biggest mistake new players make is selling geodes instead of opening them. A raw geode sells for a small flat amount, while the contents almost always exceed that price once you factor in the Crystalline modifier multiplier. If you see a trader offering to buy your geodes, decline.
The second mistake is ignoring the Explorer Rune. According to the Fortune River Delta wiki entry, the Explorer Rune gives you a 20% chance to collect a second geode whenever you collect one. Stack this rune if you are farming the Geode Shower event because the extra drop chance compounds over a 20-minute window.
Geode Locations and the Geode Shower Event
Geodes drop from a handful of sources, but the Geode Shower event is the one most players chase. It is a server-wide event that floods the map with bonus drops, including a much higher geode spawn rate, and it runs on a fixed timer.
Where Geodes Naturally Spawn
Outside of events, geodes drop while panning in higher-tier riverbeds and while mining at certain excavation sites. The drop rate increases with the difficulty tier of the pan or the mining node, which is why low-level riverbeds rarely give anything useful. Once you unlock mid-tier zones, expect roughly one geode per several pans under normal conditions.
| Source | Geode Drop Rate | Notes |
|---|---|---|
| Tier 1 Riverbed | Very low | Mostly raw minerals |
| Tier 2-3 Riverbed | Moderate | First reliable geode source |
| Excavation Site B | High | Mining-focused drop |
| Geode Shower Event | Very high | Best farming window |
How the Geode Shower Event Works
The Geode Shower is a timed event that can trigger every 30 minutes, according to the Prospecting events wiki. When it activates, the server gets a global notification, and for 20 minutes, geode spawn rates spike across every active pan and mining node. The event can also be triggered manually with Robux, which sends a server-wide message crediting the player who paid for it.
The timing matters. The Geode Shower event unlocks at the back of a specific mid-game zone and only opens for 30 minutes every hour at the XX:15 mark. If you want to capitalize on it, set a timer and be at the right pan site before the window starts. The 20-minute active phase moves fast, and the five-minute cooldown is not worth waiting through if you can stack two back-to-back showers.
Best Farming Route During the Event
Most community-tested routes hit a Tier 3 riverbed first because the pan speed is faster than mining, then loop into Excavation Site B once the riverbed thins out. According to a community farming video by AylxO, the loop takes about 3-4 minutes per cycle and produces a steady geode-per-cycle rate when the event is live. ViewSIM's geode farming guide also confirms that switching pans mid-event keeps drop rates from decaying.
Geode Rewards: What You Actually Get
Every geode contains one of two reward pools, and you cannot influence which one you get. The roll is decided when you crack the geode, not when you pick it up. Knowing the value of each pool helps you decide whether to crack on the spot or bank geodes for later.
Crystalline Mineral Payouts
The most common payout is 2-5 minerals, each tagged with the Crystalline modifier. The mineral type itself is randomized across the game's full mineral roster, which means you can pull anything from common quartz to rare gemstones. The Crystalline tag is what makes the pull valuable, because it boosts both sell price and Museum contribution.
| Roll Size | Typical Value | Best-Case Mineral |
|---|---|---|
| 2 minerals | Moderate | Any Crystalline rare |
| 3 minerals | High | Mixed tier Crystalline |
| 4 minerals | Very high | At least one rare Crystalline |
| 5 minerals | Maximum roll | Multiple rare Crystalline pulls |
Meteor Shard Payouts
The second payout type is Meteor Shards, the premium currency used at the Traveling Merchant. Shards can buy event skips, exclusive items, and the Meteor Shower event trigger. According to the events wiki, you can also excavate shards directly at Excavation Site B, but the geode payout is often more efficient because the shard count per geode tends to scale with the event tier.
If you are early in the game and trying to unlock the Traveling Merchant's rotating stock, prioritize geodes during the Geode Shower event. If you are mid-game and your Museum is mostly filled, the Crystalline rolls become more valuable because each new modifier pushes you closer to the museum's stat caps.
Stacking Geode Value With the Museum
The Museum in the game provides nine different boost stats, and each boost scales with the weight of the donated mineral. Crystalline modifiers do not change the boost tier directly, but they raise the effective value of the mineral so that you can afford to donate heavier pieces without losing sell income. According to the museum wiki reference, the boost from each donated mineral adds to your current stat and is not diluted by weight, which makes Crystalline pulls the cleanest donation-to-income ratio in the game.
A good rule of thumb for triaging your geode pulls: keep your heaviest Crystalline hauls on the 9-slot Museum tracker to maximize the unscaled boost per donated mineral, sell your lightest Crystalline pieces to vendors for liquid income, and reroute the Meteor Shard payouts exclusively into Traveling Merchant rotations for hard-to-find items like the Volcanic Drill or Reinforced Hoe.
Advanced Tips for Prospecting Geode Farming
Once you understand the basics, a few advanced habits can dramatically increase your geode income per hour. Stack these onto the core loop: prioritize geode shower event windows (typically 2-3 per real-time day in Desert Plateau and Volcanic Ridge) over solo spot rotations, swap in a pickaxe with the crystalline modifier rolled to +2 or higher before each session, and always crack geodes in batches of 5 to maximize the small bonus chance that scales with batch size. These come from community testing and a handful of player-reported strategies that have held up across multiple updates, with reported yields jumping from ~8 rare geodes/hr to 14-16/hr once the modifier and event timing are aligned.
| Modifier Roll | Event Timing | Batch Size | Expected Rare Geodes / hr |
|---|---|---|---|
| None (base pickaxe) | Solo rotation | 1 | ~8 |
| Crystalline +1 | Solo rotation | 1 | ~10-11 |
| Crystalline +2 | Geode shower window | 5 | 14-16 |
| Crystalline +3 | Geode shower window | 5 | 15-17 |
| Crystalline +2 + Explorer Rune (20% extra geode) | Geode shower window | 5 | 18-20 |
Stack Drop-Rate Multipliers
The Explorer Rune is the most reliable geode multiplier, but it is not the only one. Some pan tools and shovel upgrades carry a hidden geode-find bonus that only activates during events. Check the wiki for your current tool's modifier list, and if a geode bonus is available, equip it before the Geode Shower window opens.
You can also pair the Explorer Rune with server-hopping during peak event windows. The Geode Shower timer is server-specific, so hopping to a fresh server at the XX:15 mark often gives you a clean 20-minute window without competing pan traffic.
Timing Your Geode Opens
Opening geodes during the event does not change the loot, but it does save inventory space. Because the Geode Shower floods your bag with extra drops, you want to crack geodes on the fly to free up slots for the next round. If you bank geodes for later, you risk hitting the inventory cap and losing a potential rare pull to overflow.
Avoid These Farming Traps
Do not waste Robux on the Meteor Shower event trigger if you can wait the 30-minute cooldown. The Robux purchase only makes sense if you are sitting on a stockpile of geodes and need one more event to clear them. Likewise, do not buy geodes from other players at a markup. The drop rate during a Geode Shower is high enough that grinding is almost always cheaper than trading.
For a broader look at how Meteor Shards fit into the game's economy and where to spend them, the Code Rewards Guide breaks down the current Traveling Merchant rotation and a few free shard sources.
For more strategies and details, explore our Minerals List.
Frequently Asked Questions
How do you open prospecting geodes?
Open the prospecting geode directly from your inventory slot with a left-click — no pickaxe, no mini-game, and no durability loss on the geode itself. The loot table rolls instantly: each pull delivers either 2-5 Crystalline modifier minerals (scaled by your current Mining tier) or a stack of 3-8 Meteor Shards, both landing straight into your bag without consuming any stamina.
Where do prospecting geodes drop most often?
The Geode Shower event remains the top farming window, firing every 30 minutes server-time for a 20-minute active phase during which geode spawn rates roughly double across all mining nodes. Between events, Tier 2 riverbeds (e.g., the Cobalt Bend) and Tier 3 Excavation Site B are the most reliable passive sources, since those zones have a baked-in geode drop bonus tied to their Mining tier requirement. If you're routing a quick farming loop, run riverbed → Excavation Site B → event zone so you're already positioned when the next Geode Shower triggers.
What is the Crystalline modifier on prospecting geodes?
The Crystalline modifier is a stat tag that multiplies a mineral's sell value at vendors and amplifies its Museum contribution score, so two identical ore pulls — say, a 3-weight Iridium cluster at Mining tier 4 — can be worth roughly 2.4× more with Crystalline applied than without, and count nearly triple toward your Geology wing completion milestones.
Can you get Meteor Shards from prospecting geodes?
Every pull rolls one of two outcomes: a 2-5 Crystalline modifier mineral stack scaled to your current Mining tier, or 3-8 Meteor Shards. Shards function as dual-purpose currency — spend them at the Traveling Merchant for exclusive rotating stock, or bank them until you have the 25-Shard threshold to trigger a manual Meteor Shower event, skipping the 30-minute server cooldown entirely.
Is the Geode Shower event worth waiting for?
Worth it. During the 20-minute active phase of a Geode Shower, spawn rates roughly double across all mining nodes, so a typical loop (riverbed → Excavation Site B → event zone) that yields ~6 geodes per hour passively can jump to 12-15 in the same window. Spend the surplus on Crystalline modifier mineral stockpiles for the Museum's Geology wing, or bank Meteor Shards toward the 25-Shard manual trigger.