
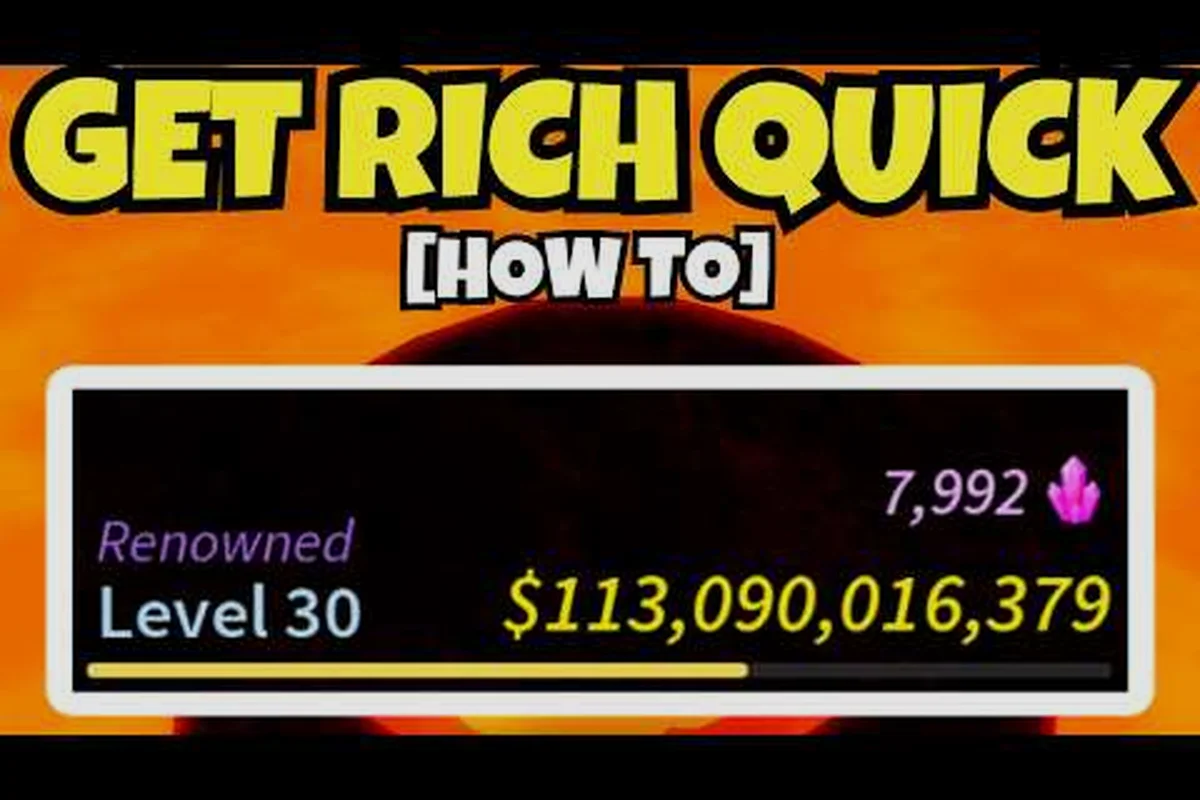
Meteor shards are the rarest soft currency in Prospecting, and every serious gold panner eventually needs a stockpile of them to push past the mid-game grind. These crystalline drops unlock extra ring slots, fund shard merchant trades, and gate a handful of the most rewarding quests in the experience. Players who ignore them stall out at the standard four-slot ceiling, while players who farm them efficiently can break progression walls weeks earlier than the average prospector.
This guide covers the four most reliable ways to grind shards in the current build, the best meteor shower windows to chase, the shard merchant rotation worth tracking, and the practical shard uses that actually move your account forward.
What Meteor Shards Are and Why They Matter
Meteor shards are a rare, end-game-tier currency that drops through gameplay rather than direct purchase. According to the Selling Minerals Guide, they are obtained primarily through panning, with the drop rate sharply increased during the periodic meteor shower events that the developers trigger on a schedule.
The currency is not interchangeable with regular gold or Robux, which makes the grind feel opaque until you understand the loop. Shards sit in their own inventory bucket, persist across deaths and server hops, and feed into a closed economy of high-value purchases that the standard panning route simply cannot reach. New players see shards in the top-left HUD long before they ever hold one, which is part of why they feel legendary.
| Property | Meteor Shards | Regular Gold | Robux Purchases |
|---|---|---|---|
| Acquisition | Panning, quests, merchant | Panning, selling finds | Real money only |
| Drop rate | Very rare (boosted by meteor showers) | Common to uncommon | N/A |
| Persistence | Inventory slot, persists across deaths | Wallet, persists across deaths | N/A |
| Primary use | Ring slots, shard merchant trades | Tool upgrades, fuel, basic vendor | Cosmetics, some instant shard bundles |
| Player trading | No | No | No |
The core value proposition is simple: shards give you access to a parallel progression track that gold cannot reach. Standard panning upgrades your pan tier, fuel capacity, and backpack slots, but every meaningful late-game unlock — from the third and fourth ring slot to exclusive shard merchant items — sits behind a shards paywall. If you want a fast primer on how panning itself works before diving into the shard economy, the Beginner Guide covers the basics of sediment digging, washing, and selling that every shard farmer still relies on.
The Four Core Meteor Shard Farming Methods
Every reliable shard income stream in Prospecting falls into one of four buckets. Some are passive, some are active, and a couple only become worthwhile once you have already built up a small base of shards to reinvest. Treating these as a layered system rather than four competing routes is the fastest path to a healthy shard bank.
Method 1: Standard Panning for Rare Shard Drops
Panning remains the single most consistent shard source in the game, because every sediment pan carries a small chance of producing a shard alongside gold, gems, and fossils. The drop is gated behind RNG, but the volume of pans a focused player can clear per hour means the expected value stacks up quickly.
| Panning Tier | Estimated Shard Rate per 100 Pans | Recommended Fuel |
|---|---|---|
| Basic Pan | 0–1 shards | Standard fuel |
| Iron Pan | 1–3 shards | High-grade fuel |
| Steel Pan | 2–4 shards | High-grade fuel |
| Gold Pan | 3–6 shards | Premium fuel |
The takeaway is that shard drops scale sharply with pan tier, which means early shard farming is slow until you upgrade. A new player with a basic pan might pan for two hours without seeing a single shard, while a gold-pan player averages several per session. The progression wall here is intentional: the developers want you to feel the reward of upgrading your gear before the shard economy truly opens up.
Players who want to maximize prospecting shards farming output should treat panning as a long session activity rather than a short burst. Setting up a route that hits the richest sediment nodes, banking the non-shard finds, and reinvesting the gold into better fuel produces a compounding return. Community testing reported by players suggests that running focused one-hour farming blocks on high-tier sediment produces more shards than scattered 10-minute sessions throughout the day, partly because the meteor shower RNG seems to reward longer continuous play windows.
Method 2: Meteor Shower Event Boosts
Meteor showers are scheduled in-game events that dramatically increase shard drop rates across every panning activity. According to the same wiki reference, the chance of finding a shard during a meteor shower is meaningfully higher than baseline, which makes these windows the highest-yield shard farming opportunity in the game.
| Activity | Baseline Shard Rate | During Meteor Shower | Boost Factor |
|---|---|---|---|
| Standard panning | 1–3% per pan | 8–15% per pan | 4–8x |
| Premium sediment nodes | 3–6% per pan | 15–25% per pan | 4–5x |
| Quest shard rewards | Fixed amount | Fixed amount + bonus roll | 1.2–1.5x |
Tracking the meteor shower schedule is the single biggest optimization any shard farmer can make. The event tends to fire on a predictable cadence, and the server announces its start with a global broadcast that every online player receives. Logging in fifteen minutes before the announced start and pre-staging your fuel and gear means you can start panning the moment the boost activates instead of scrambling to the riverbed while the timer is already running.
Players who run the prospecting meteor shower shards strategy as a scheduled block — rather than as an opportunistic bonus — tend to bank more shards in a single event than they do in a full week of off-event panning. The boost compounds with pan tier, so a gold-pan player during a meteor shower is essentially running the most profitable activity the game offers.
Method 3: Quest Reward Shards
Several mid-to-late-game quests in Prospecting award meteor shards as a completion reward, on top of the standard gold payout. These quest shards are reliable, predictable, and unaffected by RNG, which makes them a stable backbone for any shard farming plan.
| Quest Type | Approximate Shard Reward | Other Rewards | Repeatable? |
|---|---|---|---|
| First-clear story quests | 3–8 shards | Gold, fossils, unique tools | No |
| Daily rotating quests | 1–3 shards | Gold, fuel, common items | Yes (24h cooldown) |
| Vendor chain quests | 2–5 shards | Vendor reputation, items | Yes (per chain) |
| Event quests (meteor shower) | 5–12 shards | Event tokens, cosmetics | No (event-bound) |
The dailies are the workhorse here. Logging in once per day to clear the rotating shard-bearing quest, even on days when you have no other reason to play, adds up to a meaningful shard floor over a month. Players who skip dailies because they feel small typically find themselves grinding for hours in panning sessions to make up the gap, which is a worse use of time once you account for the opportunity cost.
Event quests tied to meteor showers are the real prize, because they stack the boosted drop rate from panning with a guaranteed shard payout for completion. Finishing an event quest during a meteor shower window is one of the best shard-per-minute activities in the game, and most experienced players plan their session length around completing at least one of these chains per event.
Method 4: Shard Merchant and Traveling Merchant Trades
The shard merchant is a dedicated vendor in the town hub who accepts shards as currency for a rotating stock of high-value items, including the additional ring slots that every mid-game player is chasing. According to the Selling Minerals Guide, the vendor does not give quests but functions purely as a shop, similar to the standard shopkeeper, with a reputation among players for offering somewhat inflated prices in exchange for the convenience of instant unlocks.
| Merchant | Stock Type | Currency | Notable Items | Spawn Window |
|---|---|---|---|---|
| Shard Merchant (hub) | Permanent | Shards | Ring slot unlocks, exclusive tools | Always available |
| Traveling Merchant | Rotating (4 items) | Shards OR money | Rare cosmetics, event items | Spawns at XX:45 hourly, 15-min window |
| Standard Shopkeeper | Permanent | Gold | Fuel, basic pans, common upgrades | Always available |
| Event Vendor | Event-bound | Shards + event tokens | Cosmetics, event rewards | During active events only |
The traveling merchant deserves special attention because the stock is genuinely scarce. According to community data referenced in the Best Way to Earn Money, the vendor spawns at 45 minutes past every hour and leaves after 15 minutes, which means the entire shopping window is tighter than most players realize. Setting a phone alarm for the 45-minute mark each hour, or parking a character near the spawn location, is the difference between catching a rare shard-only item and missing the rotation entirely.
The shard merchant's true value is the ring slot unlock chain. Each additional slot costs a steep but finite number of shards, and the maximum is +4 over the base count. Players who have unlocked all four extra slots describe the change as a fundamental power spike, because the ring system compounds with every other upgrade you have already made.
Prospecting Shard Uses and Spending Priorities
Knowing how to get meteor shards in Prospecting is only half the equation; spending them well is what actually moves your account forward. A player with fifty shards and no plan will burn them on cosmetics and regret the decision a week later, while a focused player with twenty shards can make a permanent account upgrade.
| Priority | Shard Use | Approximate Cost | Long-Term Value |
|---|---|---|---|
| 1 | Third ring slot | 15–20 shards | Permanent, high impact |
| 2 | Fourth ring slot | 25–30 shards | Permanent, high impact |
| 3 | Traveling merchant rare items | 10–40 shards (varies) | Cosmetic or event-locked |
| 4 | Event vendor exclusive rewards | 5–20 shards (event-bound) | Time-limited |
| 5 | Meteor fragment conversions | Variable | Situational, see below |
The ring slots should always come first. They are permanent, they compound with every other piece of gear you own, and they unlock passive bonuses that change how the rest of your kit performs. Most experienced players save shards exclusively for ring slot purchases and only dip into merchant cosmetics after they have maxed out the ring system.
Meteor fragments are a related but distinct item that occasionally comes up in the shard economy. According to the Selling Minerals Guide, these items were originally part of a system that could be used to trigger instant effects, though the developers later added a confirmation prompt to prevent accidental consumption. New players sometimes confuse fragments with shards, and the shard merchant will not accept fragments, so it is worth double-checking which item you are holding before any major trade.
Building a Sustainable Shard Farming Routine
The difference between a player who farms 200 shards a month and one who farms 20 is not luck — it is routine. The most efficient shard farmers in the community run a predictable weekly schedule that layers panning, dailies, meteor shower events, and merchant checks into a single tight loop.
| Day Block | Activity | Expected Shard Yield |
|---|---|---|
| Daily (15 min) | Daily quest chain | 1–3 shards |
| Meteor shower window (60 min) | High-tier panning + event quests | 8–20 shards |
| Hourly check (5 min each) | Traveling merchant spawn | 0–10 shards (stock-dependent) |
| Weekly deep session (3 hours) | Premium panning, all event content | 15–30 shards |
Players who commit to a daily quest clear plus a single meteor shower block per week tend to bank enough shards for a ring slot unlock every three to four weeks, which is the pace at which the shard economy starts to feel comfortable rather than desperate. Players who skip dailies and only show up for meteor showers still progress, but at roughly half the rate.
One practical tip: do not hoard shards indefinitely waiting for the perfect item. The shard merchant's stock rotates, and the traveling merchant leaves in fifteen minutes, so hesitation costs real currency. Set a priority list before you log in, spend according to plan, and resist the temptation to deviate for a cosmetic that is not on the list.
For more strategies and details, explore our How to Get Money Fast.
Frequently Asked Questions
What is the fastest way to get meteor shards in Prospecting?
Running high-tier panning during a meteor shower event is the fastest method, because the boosted drop rate stacks with premium pan upgrades and event quest rewards. Most experienced players clear 8–20 shards in a focused one-hour shower window, compared to 1–3 shards in an hour of off-event panning at the same tier.
How much do extra ring slots cost in shards?
Each additional ring slot costs between 15 and 30 shards, with the price stepping up for each successive unlock. The third slot is the cheapest, the fourth is the most expensive, and the maximum is +4 over the base count. Saving exclusively for ring slots is the most efficient use of shards for long-term account progression.
Does the traveling merchant always sell shard-only items?
The traveling merchant offers four items per spawn, and each can usually be purchased with either meteor shards or money, though the shard-only items are the rarest and most sought-after. Because the vendor leaves after 15 minutes, checking in at the 45-minute mark of every hour is the only reliable way to catch the rotation.
Can meteor fragments be converted into shards?
No, meteor fragments and meteor shards are separate items with separate economies. The shard merchant does not accept fragments, and fragments have their own use cases that are gated behind specific in-game systems. Double-check the item name before any major trade to avoid losing currency to a confusion between the two.
Is it worth buying shard bundles with Robux?
For players who play casually and never want to grind, a small Robux bundle can be a reasonable shortcut to unlock the first ring slot, but the long-term value is poor compared to farming. Players who log in for meteor showers and dailies will out-earn any small bundle within a few weeks of consistent play, so paid shards are best reserved for one-time unlocks rather than ongoing purchases.