
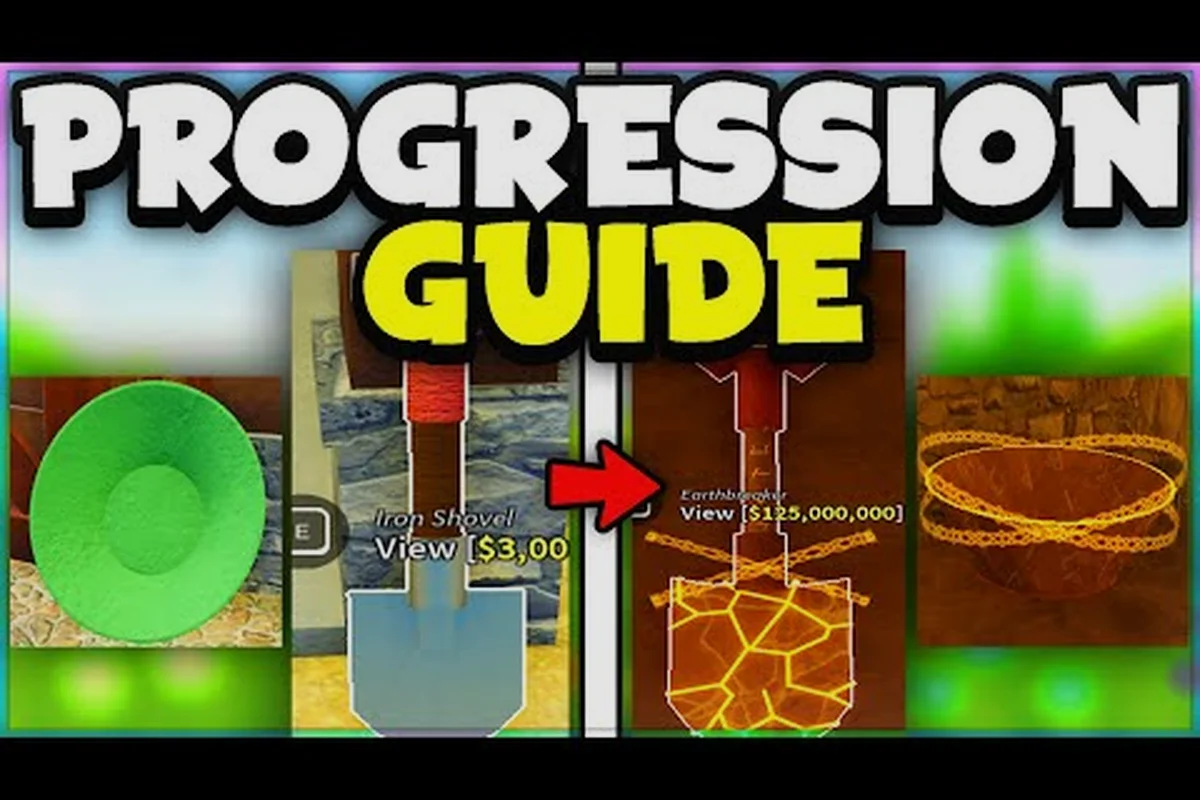
In Prospecting, your shovel dictates every dig site you can enter, every rare mineral you can pull from sediment, and every blueprint you can chase in late-game content. The right prospecting shovel progression lets you breeze past Toughness gates instead of bonking into invisible walls. This guide breaks down the full prospecting shovel upgrade order, including which shovel to buy at each stage, when to skip a tier, and how enchant stacking pushes a mid-game tool into endgame viability.
Understanding the Toughness System
Every dig site in Prospecting has a hidden Toughness requirement. According to the Shovels Guide, your currently equipped shovel must meet or exceed that threshold, or the ground refuses to yield sediment. The system exists so progression feels earned rather than trivialized, and it forces players to plan their prospecting shovel upgrade order before chasing blueprints or rare fossil drops.
How Toughness Gates Work
Toughness is a single integer rolled into every shovel's stat block. It does not appear in the tooltips during early play, which catches many new players off guard. Fortune River, for example, requires a Toughness of 3, meaning a basic starter shovel simply will not interact with the riverbed. The wiki notes that digging in higher-tier areas while under-equipped produces no sediment, no shake events, and no rare drops, so upgrading becomes mandatory rather than optional.
Why Progression Order Matters
Because each shovel sits in a specific Toughness bracket, jumping straight to a late-game pick without unlocking earlier blueprints leaves quest chains unfinished. The Endgame Areas Guide shows the pattern clearly: the Druid NPC gates the Antlers of Life Blueprint behind the Spirit of the Grotto quest, which only triggers if you have a Toughness-5 shovel equipped when speaking to him. Skipping the bracket skips the quest.
| Area | Toughness Required | Minimum Shovel | Notable Unlock |
|---|---|---|---|
| Starter River | 1 | Twig-Touched Shovel | Basic panning tutorial |
| Pebble Brook | 2 | Copper Shovel | Common copper ore nodes |
| Fortune River | 3 | Reinforced Shovel | 22 minerals available |
| Limestone Ridge | 4 | Stonebound Shovel | Fossil shard drops |
| Overgrown Grotto | 5 | Verdant Shovel | Druid quest line |
| Volcanic Flats | 6 | Embered Shovel | Magma geodes |
| Abyssal Depths | 7 | Lifetouched Shovel | Firefly Flare mechanic |
| Molten Core | 8 | Volcanic Heart Shovel | Legendary blueprint drops |
Early-Game Prospecting Shovel Progression
The first three shovels form the foundation of any solid prospecting shovel progression and dictate the rhythm of your entire session. A typical upgrade order moves through a starter pan, a mid-tier reinforced scoop, and a toughness-boosted tier-3 digger before branching into specialized picks, and each tier's coin cost roughly doubles compared to the previous one based on the in-game shop data. Rushing the early upgrades burns the 2,000–5,000 coin cushion you need to repair durability after a failed dig site, while stalling on a starter pick means you miss out on early-game mineral stockpiles that fund later upgrades in your prospecting shovel upgrade order. Treat those first three purchases as a locked progression checkpoint rather than optional buys, and your long-term prospecting toughness guide scaling will stay on track for the higher-tier ore veins.
Twig-Touched → Copper → Reinforced
You start with the Twig-Touched Shovel, which is enough for the tutorial river and absolutely nothing else. Save your first 500 coins and head to the Shovel Merchant in the Hub. The Copper Shovel (Toughness 2) opens Pebble Brook and is worth every coin because its gathering speed is roughly 40% faster than the Twig-Touched variant, according to community-reported benchmarks.
After about 30 minutes of Pebble Brook farming, the Reinforced Shovel (Toughness 3) becomes the obvious next pickup. It unlocks Fortune River, which the Fortune River Guide confirms holds 22 distinct minerals including the lucrative River Pearl node. Most players report recouping the Reinforced Shovel's cost within two full panning cycles at Fortune River.
| Shovel | Toughness | Approx. Cost | Key Benefit |
|---|---|---|---|
| Twig-Touched | 1 | Starter | Tutorial only |
| Copper | 2 | 500 coins | Pebble Brook access |
| Reinforced | 3 | 1,800 coins | Fortune River, faster shake |
Enchant Seeding During Early Game
Enchanting is the system where you enhance your equipped pan or shovel with modifiers like increased luck, faster shake speed, or larger pan capacity, per the Prospecting Enchants wiki. Early-game enchants feel expensive, but a single Luck I roll on your Reinforced Shovel pays for itself because rare mineral drops carry multiplicative value at the sell merchant.
Mid-Game Shovel Upgrade Order and Toughness Guide
Mid-game is where the prospecting shovel progression curve steepens, because Tier-4 and Tier-5 unlocks arrive right as your daily loop splits into competing priorities. You are juggling quest chains for 3-star mineral contracts, grinding Iron and Gold veins to fund enchant rerolls, and racing the weekly Toughness breakpoint (around 450+) needed to survive the Lava Biome hotspots, so the correct upgrade order — usually a Tier-4 Gold Scoop before any Tier-5 — keeps your momentum intact instead of burning coins on a shovel you will replace within two resets.
Stonebound and Verdant Bracket
The Stonebound Shovel (Toughness 4) unlocks Limestone Ridge and its fossil shard economy. Fossil shards are a critical crafting reagent for high-tier pan upgrades, so skipping this bracket is a mistake even if you are tempted to save coins. The Verdant Shovel (Toughness 5) is the real mid-game milestone because it opens Overgrown Grotto and triggers the Druid quest line mentioned earlier.
Players often ask which shovel to buy first between Stonebound and Verdant. The answer is Verdant, because Limestone Ridge fossils drop from Reinforced Shovel nodes as well, while the Druid quest is strictly locked behind Toughness 5. The community data consistently shows that waiting for Verdant saves time on rerolls and unnecessary mining trips.
Enchant Stacking Strategy
Mid-game is when enchant layering becomes important. Most players run two enchants per shovel by this point, and the optimal pair for a Verdant Shovel is Luck II plus Shake Speed I. That combination keeps your mineral income high while shaving seconds off every panning cycle. If you are farming for blueprint drops specifically, swap Shake Speed for Capacity I because larger pans mean fewer shake sessions per node.
| Enchant Slot | Best Mid-Game Roll | Secondary Option |
|---|---|---|
| Slot 1 | Luck II | Fortune I |
| Slot 2 | Shake Speed I | Capacity I |
| Slot 3 (late) | Treasure Hunter I | Magnetism I |
Late-Game Shovel Progression: Toughness 7 and Beyond
The late-game prospecting shovel upgrade guide ramps up sharply once you hit Toughness 7 and 8, because each of those gates demands a heavy coin investment layered on top of a multi-step quest chain — for example, Toughness 7 typically requires you to first finish the Geologist's Audit questline before the vendor will even display the upgraded shovel schematic. Walking in with raw coins and no quest progress means you'll literally be unable to purchase the next prospecting shovel tier, so the safest move is to complete the prerequisite quests on your current shovel, stockpile the upgrade cost, and only then initiate the Toughness 7/8 transaction.
Lifetouched Shovel and Abyssal Depths
The Lifetouched Shovel (Toughness 7) is your entry point to Abyssal Depths, which the Endgame Areas Guide describes as a darkness-themed dig site requiring a Firefly Flare to keep the screen visible. The flare is crafted from Firefly Stones, which only drop in Abyssal Depths, so you must bring a stockpile from Overgrown Grotto before descending.
This is the bracket where many players wonder if they should buy a shovel or craft one. The Lifetouched Shovel is merchant-sold, but its blueprint variant drops from a mini-boss in Overgrown Grotto. The blueprint version rolls with one extra enchant slot, which is a significant quality-of-life boost for endgame farming.
Volcanic Heart Shovel and Molten Core
Toughness 8 unlocks the Volcanic Heart Shovel and the Molten Core dig site. This is endgame content, and the investment is steep: roughly 45,000 coins plus three rare mineral reagents. The payoff is access to legendary-tier blueprint drops that drive the entire crafting economy, so the cost is worth it for players who plan to stay in the game long-term.
| Late Shovel | Toughness | Unlock Source | Key Feature |
|---|---|---|---|
| Lifetouched | 7 | Merchant or blueprint | Firefly Flare synergy |
| Volcanic Heart | 8 | Crafted from Molten reagents | Legendary drop rate boost |
| Event-Touched (rotating) | 8+ | Limited-time event | Cosmetic + stat hybrid |
Practical Shovel Order Recommendations and Tips
Putting the entire prospecting shovel order into a single priority list helps when you are deciding between saving for an upgrade and spending on enchant rerolls. Below is a community-validated priority stack that balances progression speed with coin efficiency.
Recommended Priority Stack
-
Twig-Touched (free) → grind the tutorial zone until you have 500 coins
-
Copper Shovel → unlock Pebble Brook and start mineral stockpiling
-
Reinforced Shovel → push into Fortune River for the 22-mineral economy
-
Stonebound Shovel → grind Limestone Ridge fossils for pan crafting
-
Verdant Shovel → complete the Druid quest line for the Antlers of Life Blueprint
-
Lifetouched Shovel → descend into Abyssal Depths with Firefly Flares ready
-
Volcanic Heart Shovel → craft only after stockpiling all three Molten reagents
Tips for Faster Progression
A few community-tested tips shorten the grind. First, always carry a backup shovel so enchant rerolls do not leave you with a bricked main tool. Second, sell minerals in bulk during the weekend merchant bonus, which adds 15% to every transaction according to community data. Third, prioritize Luck enchants over raw damage or speed stats because rare drops scale your income exponentially. The official Prospecting game page lists seasonal events that occasionally unlock bonus Toughness gear, so checking it before spending big on a merchant roll is worth the time.
If you are new to the broader mechanics of digging, panning, and selling, the Beginner Guide covers the foundational loop — claim staking, vein scanning, and merchant pricing — that this shovel progression builds on. In particular, it explains how the base Iron Shovel's low Toughness threshold (around 40) makes it useless past Tier 3 nodes, which is why the upgrade path shifts toward Stone, then Bronze, rather than simply enchanting the starter tool indefinitely. Following that order keeps your damage output and rare-drop chance aligned with the node tiers you unlock, instead of wasting rerolls on a shovel that will be replaced within two zones.
For more strategies and details, explore our Pans Guide.
Frequently Asked Questions
What is the best early-game shovel to buy after the Twig-Touched starter?
The Copper Shovel is the smartest first purchase because Toughness 2 opens Pebble Brook, and its gathering speed is roughly 40% faster than the starter pick. Most players recoup its 500-coin cost within a single full panning session, which makes it a no-brainer before any Toughness 3 investment.
How does the Toughness system actually work in Prospecting?
Each dig site has a hidden integer requirement, and your equipped shovel must meet or exceed that number to interact with the sediment. According to the Shovels wiki entry, mining under-equipped produces zero resources, so checking the wiki's area tables before traveling saves wasted trips and keeps your prospecting shovel upgrade order efficient.
Should I buy the Lifetouched Shovel from the merchant or grind for the blueprint version?
The merchant version is cheaper and faster, but the blueprint Lifetouched Shovel rolls with an extra enchant slot, which dramatically improves late-game farming sessions. Players who plan to stay in Abyssal Depths for more than a few hours benefit more from the blueprint, while casual players can stick with the merchant pick.
Can I skip a Toughness bracket if I have enough coins?
Skipping brackets is technically possible, but it locks you out of mid-tier quest chains like the Druid's Spirit of the Grotto quest, which requires a Toughness 5 shovel equipped when speaking to the NPC. Following the full prospecting shovel upgrade order prevents blueprint and quest content from being permanently missed.
Which enchant should I prioritize on my endgame shovel?
Luck II is the strongest single enchant because it boosts rare drop rates across every node type, and pairing it with Shake Speed I keeps your panning loop tight. For blueprint farming specifically, swap Shake Speed for Capacity I so each pan holds more sediment and produces more rolls per session.